My students this year had so much fun participating in this recorder escape room! It was so much fun to review our recorder prep activities.
For this activity I had a lock-box locked with 4 locks opened by keys. My lock box was filled with photo props and a choice board for a class reward. I had 4 groups and each group had to complete all four tasks to get a key to help the CLASS escape. If a group finished and had cleaned up their area, they were allowed to help other groups complete their tasks. We talked about how this activity not only prepared students to start recorder, but also how to communicate and work as a team.
Challenges:
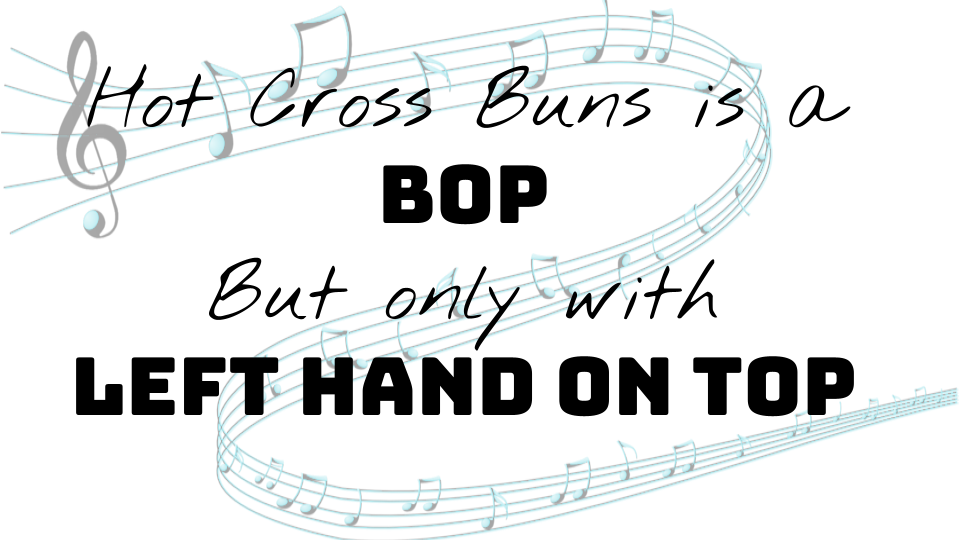
Puzzle that says "Hot Cross Buns in a BOP but only with left hand on TOP"
Staff Note Labeling Worksheet (see below for details)
Steady Breath Obstacle Course with materials given (see below for details)
Extra Challenge:
Each lock was also either a known rhythm symbol, or a note on the staff with a corresponding key. I handed students a key, but they had to figure out which lock it went with. I got my locks from Rhythmically Yours on Etsy, but I don't think they are in her store anymore.
Materials Needed
*Lock Box (I just used a plastic file box)
*Fill the lock box with photo props and a We Escaped sign. I had scarves, masks, glasses, puppets and more!
*4 locks (or more/ less depending on how many groups you will have)
*Multi-Lock Hasp (a device that lets you lock 1 thing with multiple locks)

*Copy of Puzzle, printed, cut into 8 pieces and laminated for each group (I had 4!)
*Before you laminate the puzzle, be sure to write the rhythm of a known song on the back. One measure per puzzle piece. Don't forget to mix up the rhythm on the puzzle pieces, so students are not just flipping the puzzle over and being done.
*Staff Note Labeling Worksheet- Mine said the following:
Make a FACE, Tell me your AGE, DAB, Ask for a BAG with your next clue. Words in BOLD were written out on the musical treble clef staff.
*Bag for Obstacle Course- include directions (see below) any materials you want for students to create their obstacle course. Cotton Ball to blow through the course, Pencils/ other writing utensils, books, folders, dry erase boards, scarves, ribbons, any other classroom materials.
Process:
When students came in, I gave a basic rundown of each of the activities and split them into 4 groups. This took between 5 and 10 minutes for each class. When time started, I had 2 groups start with the puzzle, and 2 with the staff note labeling worksheet so they weren't all doing the same thing. Both the puzzle and staff worksheet led to the next clue once it was completed. The puzzle got flipped over and students rearranged the pieces to create the rhythm of Rocky Mountain. The Worksheet told students to get a BAG for the obstacle course. When a group finished a task they came and got me and I was able to check it off and let them know what their next task was. When they finished all 4, they got a key from me and had to figure out which lock their key corresponded with. After they unlocked their lock and cleaned up their space they were allowed to help other groups finish up their tasks so the whole class could escape.
One group escaped with just 1 minute remaining in class and it was such a celebration! I can't wait to do this activity again next year!
Obstacle course directions were as follows:
Use the materials in the bag to create a short obstacle course to practice LIGHT, STEADY air for recorder!
Choose Two or more obstacles from the following
Right Turn
Left Turn
Spiral
ZigZag around objects
When finished- find Mrs. Church and show her how each team member can complete the course blowing the puff ball through along the path utilizing light and steady air! Keep an eye on the time- try to complete within 10 minutes!
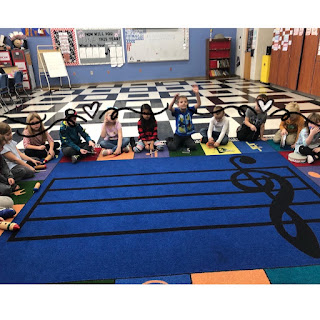
Scroll Through for some pictures of my students completing their Escape Room. It was so much fun!


Full link:
https://docs.google.com/presentation/d/1fuYI8x2mqNKa8FLlKpyV0moLy1pM8DpzZ8gzL7DJ-3g/copy?usp=sharing